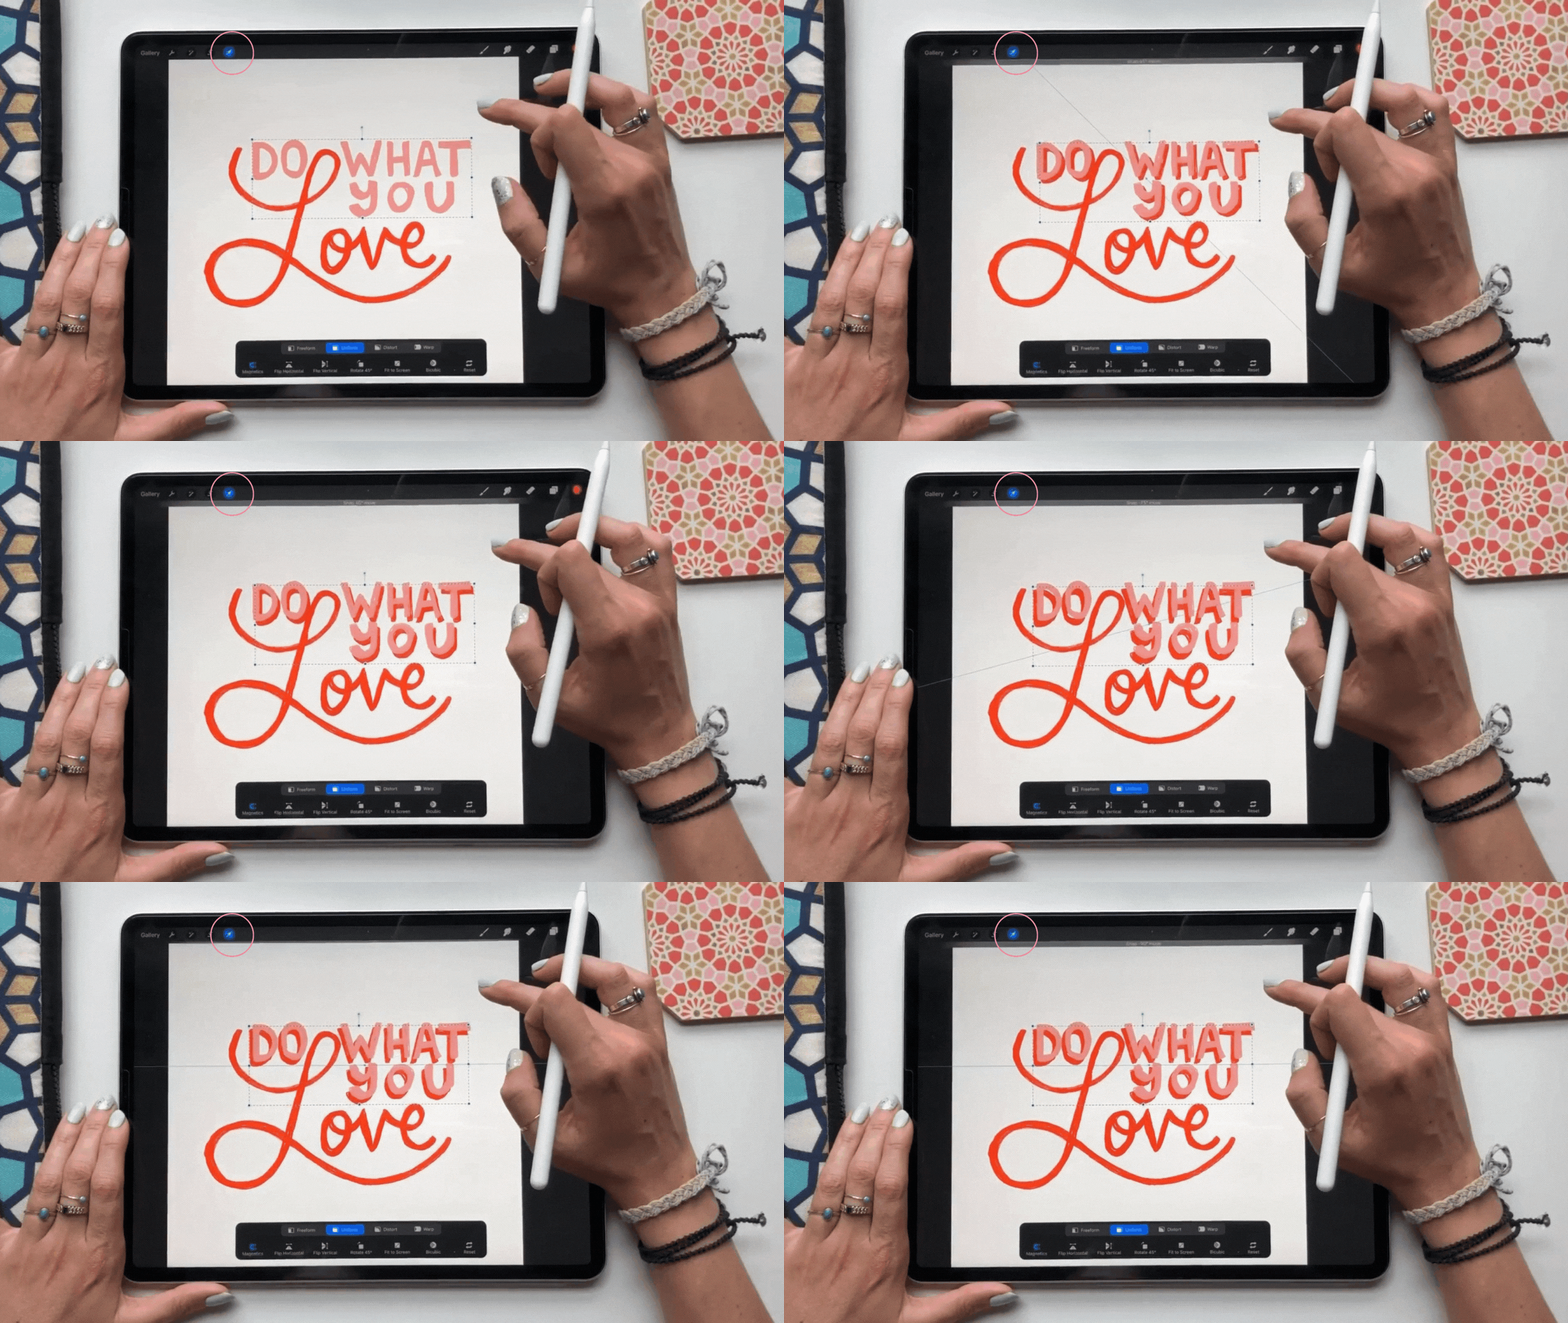
The Guide to Hand-Lettering in Procreate
This hand-lettering tutorial is all about best practices for lettering in Procreate. This is a great skill to learn as a Procreate beginner, and once you get the basics down, it's a really simple and fun process. Hand-lettering in Procreate is one of my favorite things to do in the iPad app and I think you'll really enjoy it too!
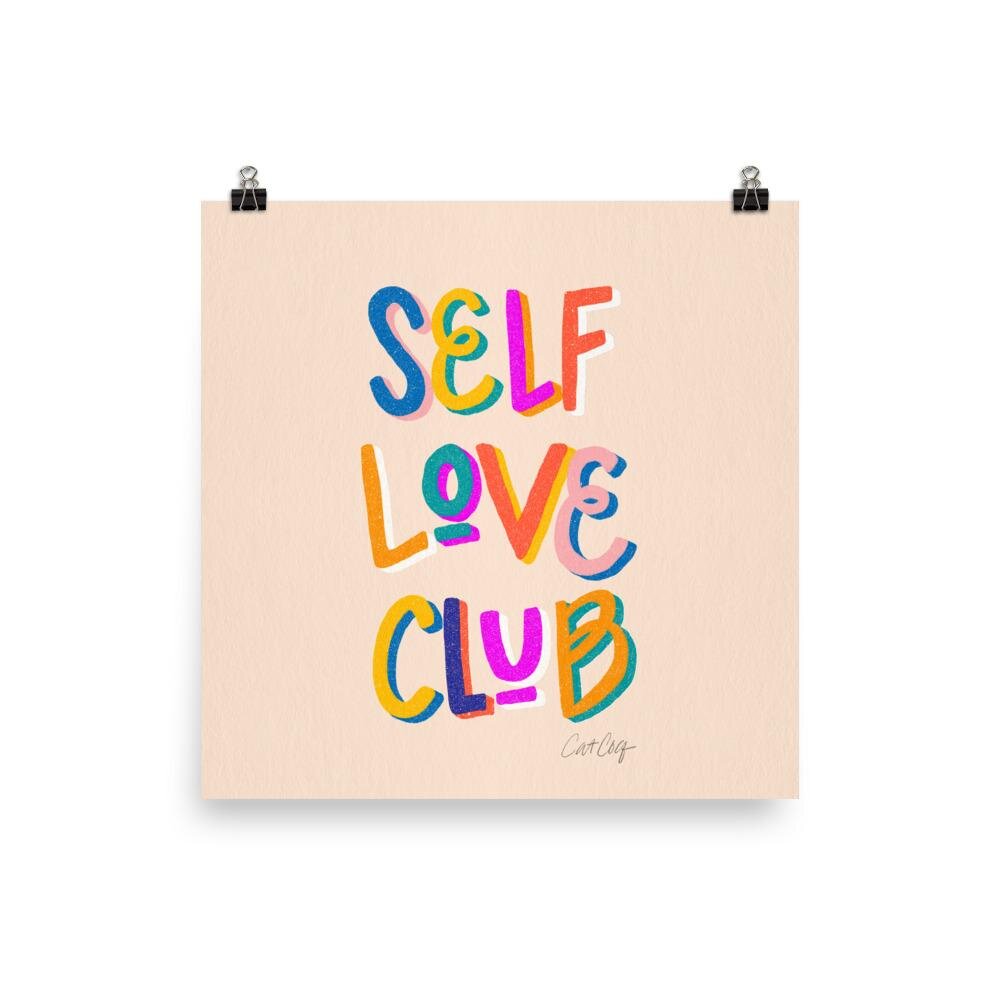
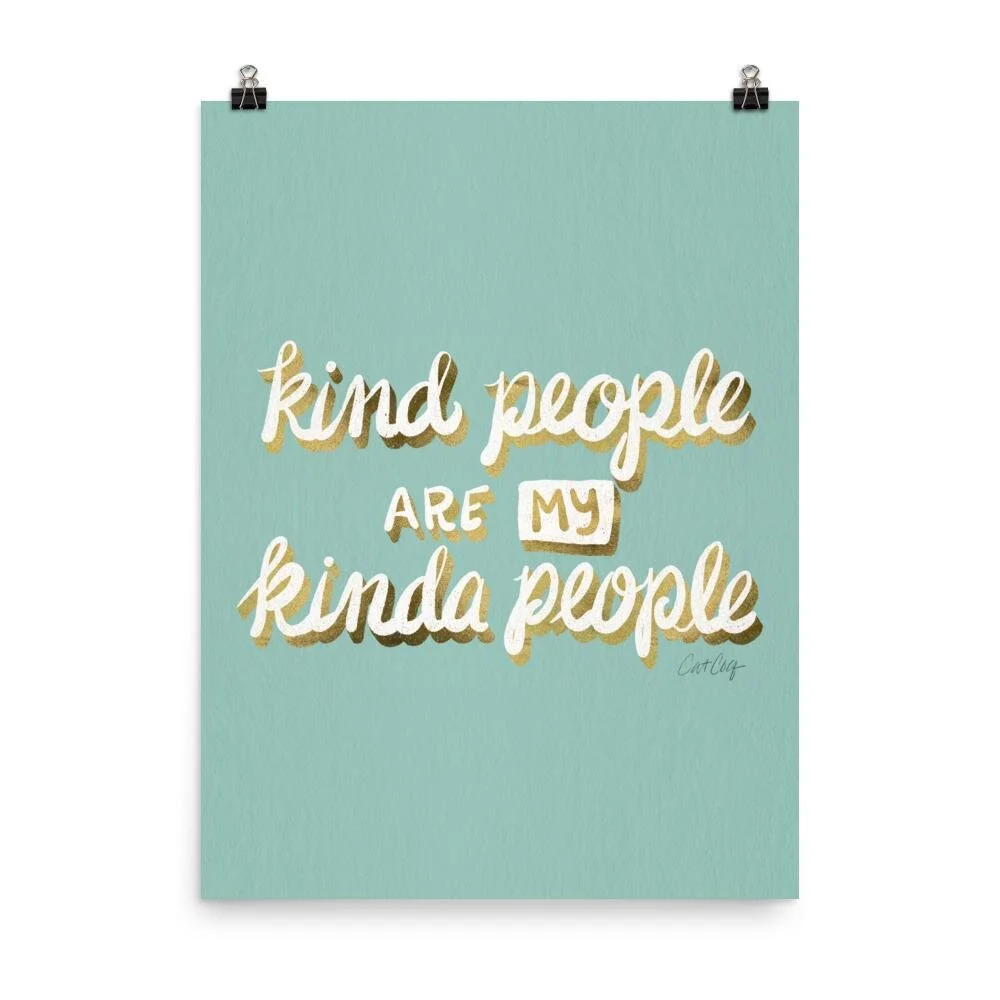
Hand-lettered quotes, inspirational messages, and words of wisdom are huge sellers as far as commercial art goes. In fact, my brush-lettered Shakespeare quote was what really got my brand on the map back in 2014, and it's still one of my best sellers to this day.
Many people think that you have to have good handwriting to create hand-lettered illustrations, but that's not actually the case! Anyone can create beautiful hand-lettered pieces. You'll leave this tutorial with a cool hand-lettered piece even if you're a complete hand-lettering beginner.
When I first started hand-lettering, it was helpful to think of the words and letters as illustrations, not just something you write on the page. Coming into it with this mindset will help you to create a beautiful hand-lettered illustration no matter what your handwriting looks like!
Supplies:
All you need to get started with hand-lettering in Procreate is the iPad app Procreate, an iPad, and something to draw with. If you're brand new to Procreate you can start by drawing with your finger. However, I recommend an Apple Pencil if you want to get serious with the iPad app.
Are you ready to dive in and learn this popular and fun illustration technique?
Let's do this!
Thumbnail Sketch & Composition:
Like any illustration, the best way to start your hand-lettered quote is with a thumbnail sketch. This is just a loose sketch to get your thoughts on paper (or the screen in this case 😉). When I'm sketching in Procreate I like to use the built-in Procreate brush called Peppermint in a bright red color. This helps me see my sketch clearly.
I like to start by writing out the quote I want to hand-letter. In this example, I'm going to use the quote "Do what you love." You can follow along with my example here, or choose a quote that is meaningful to you. Once you've chosen your quote, simply write it out so you can get an idea of what the letterforms look like and how you might put the lettering together.
You'll notice that most hand-lettered illustrations aren't just written out all on one line. Hand-lettered artwork is typically composed in a way that is visually interesting and appealing. Remember, this is an illustration, not just text on a page. So our next step is to play with the composition of the words and letterforms and see how they might fit together in an interesting way.
Play with using different types of lettering. See if mixing cursive and a block font looks good together. In my example, I really loved the look of the word "Love" in cursive. So I started my composition sketch with the cursive "Love" and worked backward to fill in the rest of the words in the quote.
I was able to fit the first three words together and contain them within the shape and curves of the word "Love." This process will differ depending on the quote you choose, but no matter what, take the opportunity in this sketching phase to play around with different configurations. You can't get it wrong! This process is all about loosening up, stretching your creativity, and finding a composition that feels right to you.
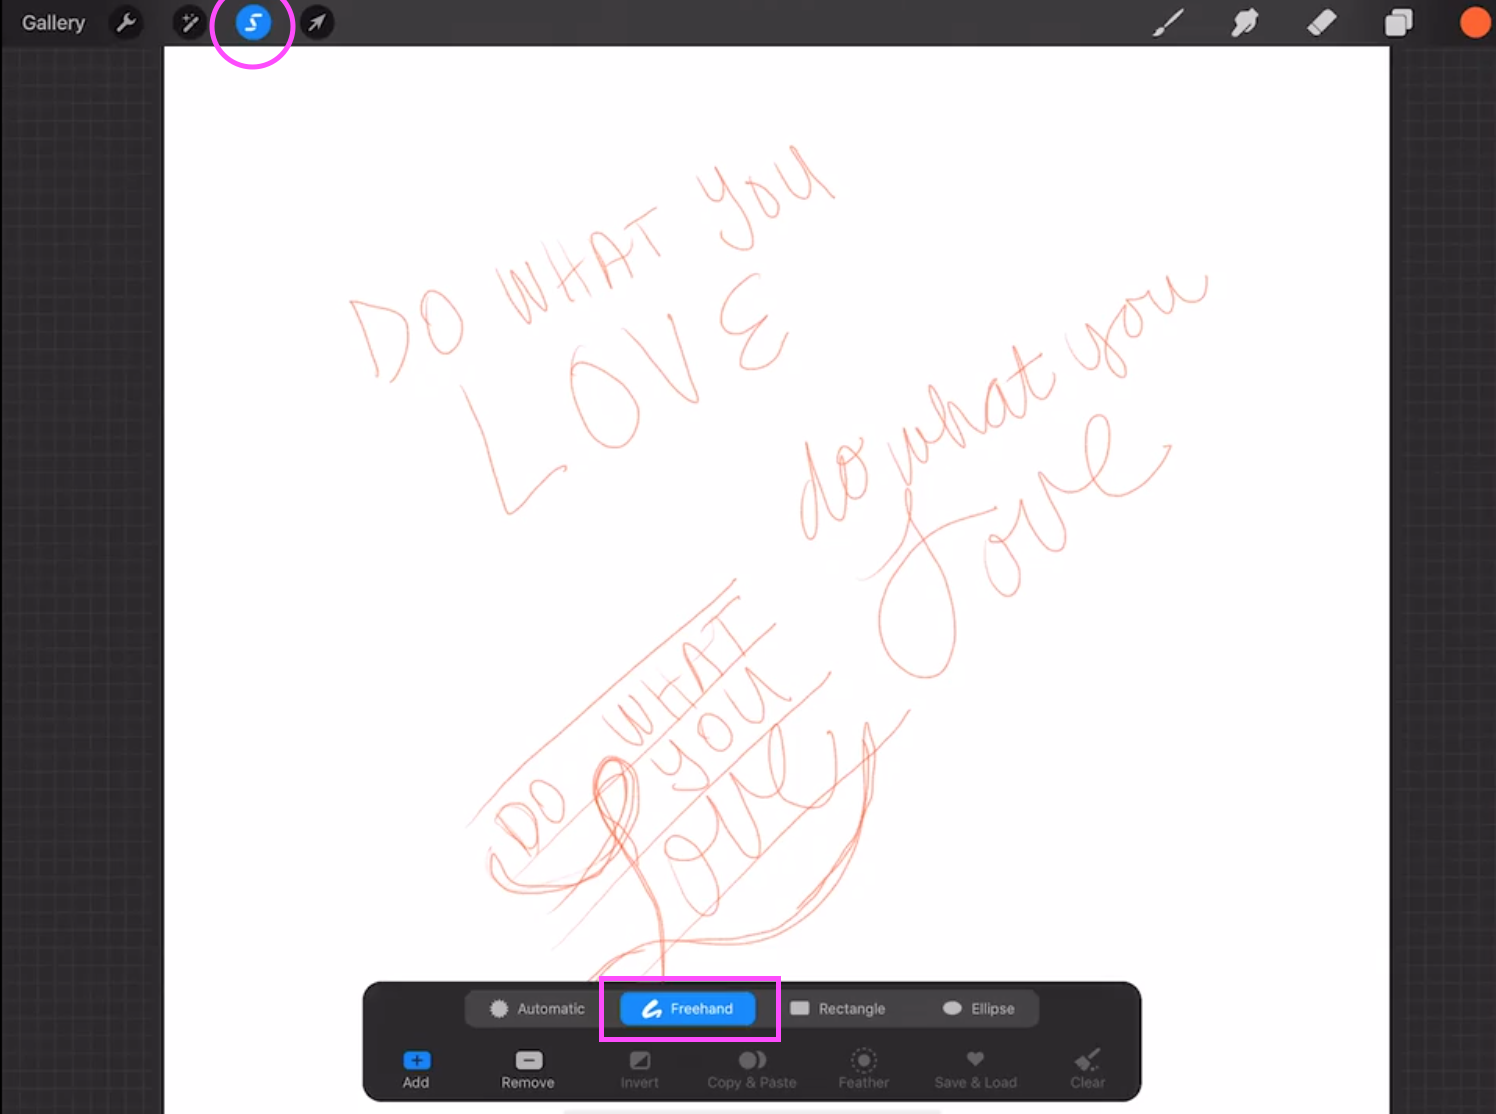
Once you've chosen a configuration that feels right, you can isolate the composition and move it onto its own layer using the Selection tool. Tap the "S" ribbon on the top left of your screen, select Freehand, and from here you can draw around the composition that you want to select.
When you've selected the composition, swipe down on your screen with three fingers. This brings up a menu where you can isolate the composition and cut and paste it onto its own layer.
Open up your layers panel, swipe left on the original sketch layer, and delete it. This will leave only your final composition sketch that you copied onto its own layer. If you're like me and like to sketch on the diagonal, you'll likely have to adjust your sketch to get it to the right size and position on your canvas. You can do this by selecting the Transform tool at the top left of your canvas. This will allow you to resize and center your composition.
Once you have your composition placed where you want it on the canvas, it's time to refine the illustration!
I like to start by turning on a drawing grid. This grid acts as a guide as you're creating your illustration and can help you keep things lined up perfectly. To turn on the drawing guide tap the wrench icon on the top left and toggle on the switch for Drawing Guide.
Refining Your Sketch:
The next step is to refine your thumbnail sketch. Since thumbnail sketches are so loose, they can tend to be a bit sloppy. I like to refine my hand-lettering sketches with a thicker brush that will be closer to the look of the final illustration. Refining the sketch also allows you to follow your drawing guide for more precision. To start, create a new layer for your refined sketch.
Next, turn down the opacity on your thumbnail sketch in your layers panel. You can do this by tapping "N" next to the layer and pulling down the opacity scrubber.
Make sure you're on the new layer for your refined sketch and select a larger brush. I am using the built-in Procreate brush called "Soft Pastel." Now simply go over your sketch with the new brush and refine it a bit more. This still doesn't have to be perfect, but it will be a clearer guide for you to follow as you start your illustration.
Create Your Hand-Lettering Illustration:
Now it's time for the fun part, the actual illustration! I'm going to use a textured brush for my illustration because I want it to have a very organic and hand-drawn look. Once you've selected your favorite brush, create a new layer for your illustration and start to draw over your sketch. This is where you really get to make it your own. You can explore different color palettes and brushes to make your illustration fit your style.
I would suggest creating a new layer for every element of your illustration so that you're able to easily manipulate them down the line. In my example, I illustrated "Do what you" and "Love" on separate layers.
Once you've created your illustration it will look something like this. As you can see in my example, I intentionally kept it a bit sloppy to give it the hand-drawn vibe I was going for.
Elevating your hand-lettering:
The last thing I want to walk you through is how to elevate your hand lettering using a drop shadow for a faux-3D effect. The finished product will look like this:
To create your drop shadow, select the layer that you want to add it to, swipe left on the layer in the layers panel, and click duplicate. This will create an exact copy of that layer.
We want our drop shadow to be a different color than the original hand-lettering, so go into your color palette on the top left of the screen and select the color that you want the drop shadow to be. Now, drag the colored circle from the top left of your screen onto the hand lettering that you're adding a shadow to. Keep your pencil on the screen and drag it to the right until all of the letters get recolored.
Now you can drag the drop shadow layer underneath the original layer. With the drop shadow layer selected, tap the Transform tool and drag the drop shadow down and to the left a bit.
You'll see that some of the edges of the shadow aren't connected. We want to make sure that these letters look like they are one piece. To clean up the shadow, connect the corners and fill in any gaps between the shadow and the original lettering.
Repeat this drop shadow technique on any of the other parts of your illustration that you want to add it to, and your hand-lettered illustration is complete!
I hope this hand-lettering art tutorial was helpful and showed you that hand-lettering is a fun and approachable technique for beginners and advanced artists alike. Have questions about hand lettering in Procreate? Drop them in the comments below! I'd love to see what hand lettering projects you create. Share them on Instagram and tag me @catcoq so I can see them!
Happy hand-lettering!
Want to dive deeper into Procreate? Enroll in one of my Procreate tutorial classes!
Procreate for Beginners
This is a comprehensive, all-in-one Procreate course. You’ll create five cool illustrations, each lesson focusing on a core skill in Procreate.
Blooms & Shrooms
Wondering what to draw in Procreate? In this class, you'll learn step-by-step how to draw a fun and on-trend illustration on your iPad.
Drawing Seamless Patterns in Procreate
In this class, you will learn how to use your artwork to illustrate professional, repeat patterns that easily line up into perfect pattern blocks.
Draw Your Dream Home in Procreate
This step-by-step class covers the full process of envisioning your dream home and drawing it in Procreate.
